Why Plumbing Leaks Happen
Before diving into DIY solutions, it helps to understand what causes leaks in the first place. Common causes include:
Worn-out seals or washers
Loose connections or fittings
High water pressure
Pipe corrosion
Freezing and expanding water
Poor installation
Now, let’s explore how you can tackle these problems — or better yet, prevent them — with some smart DIY strategies.
1. Regularly Inspect Your Pipes and Fixtures
Check under sinks, behind toilets, and around water heaters or washing machines for signs of moisture, rust, or dripping. Small leaks often start slow, but catching them early prevents bigger issues.
What to look for:
Water stains
Mold or mildew
Unusual smells
Dripping or rusted connections
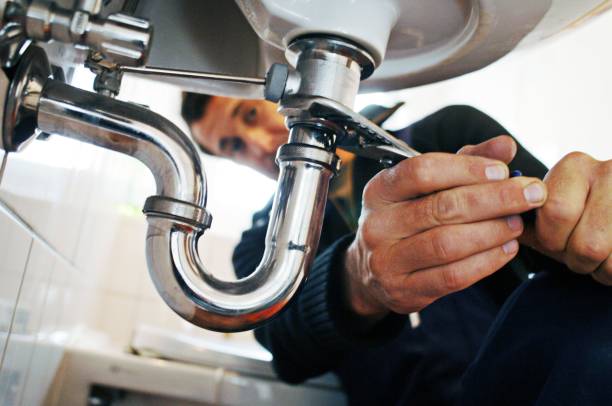
2. Tighten Loose Fittings
Over time, pipe joints and fixture connections can loosen. Use a wrench to gently tighten any that feel loose — but be careful not to over-tighten, which can crack the fitting or pipe.
3. Replace Worn-Out Washers or Seals
Faucets and showerheads often leak because of a worn-out rubber washer or O-ring. These parts are inexpensive and easy to replace with basic tools like a screwdriver and adjustable wrench.
DIY Tip: Always turn off the water supply before taking apart any fixture.
4. Use Plumber’s Tape for Threaded Joints
Plumber’s tape (also known as Teflon tape) is essential when installing or repairing threaded pipe joints. Wrapping this tape around threads helps create a watertight seal and prevents leaks.
5. Clear Clogs Safely
Clogs increase pressure in your pipes, which can lead to leaks. Avoid chemical drain cleaners — they can damage your plumbing over time. Instead, use:
A plunger
A drain snake
A baking soda and vinegar solution followed by hot water
6. Watch Your Water Pressure
High water pressure might feel great in the shower, but it’s a hidden danger to your pipes. Use a pressure gauge to check your water pressure. Ideal residential water pressure is between 40–60 PSI.
If it’s higher than 80 PSI, install a pressure-reducing valve or call a plumber.
7. Insulate Pipes in Cold Weather
Frozen pipes are a major cause of leaks and bursts during winter. Insulate exposed pipes — especially those in basements, garages, or exterior walls — with foam pipe sleeves or heat tape.
8. Know Where Your Shut-Off Valve Is
In case of a major leak or pipe burst, shutting off your main water supply immediately can prevent extensive water damage. Make sure you and everyone in the household knows where the main shut-off valve is located.
9. Replace Old or Corroded Pipes
If you live in an older home, your plumbing might include outdated galvanized pipes, which are prone to corrosion. Replacing them with modern materials like PEX or copper can help avoid future leaks.
10. Don’t Ignore the Small Leaks
That tiny drip under the sink or the slow leak from a faucet may not seem urgent, but over time they waste water, raise your utility bill, and can lead to mold or rot. Take action early — small fixes now can prevent major problems later.
Final Thoughts: DIY Plumbing Can Save the Day — If Done Right
Doing your own plumbing doesn’t mean tackling complex installations or pipe replacements. By following the tips above, you can prevent most common leaks and fix minor issues before they escalate.
However, know your limits. If you're dealing with:
Sewer line problems
Major pipe bursts
Repeated leaks in the same area
It’s best to call a licensed plumber. But for everything else — a little know-how and the right tools can go a long way.